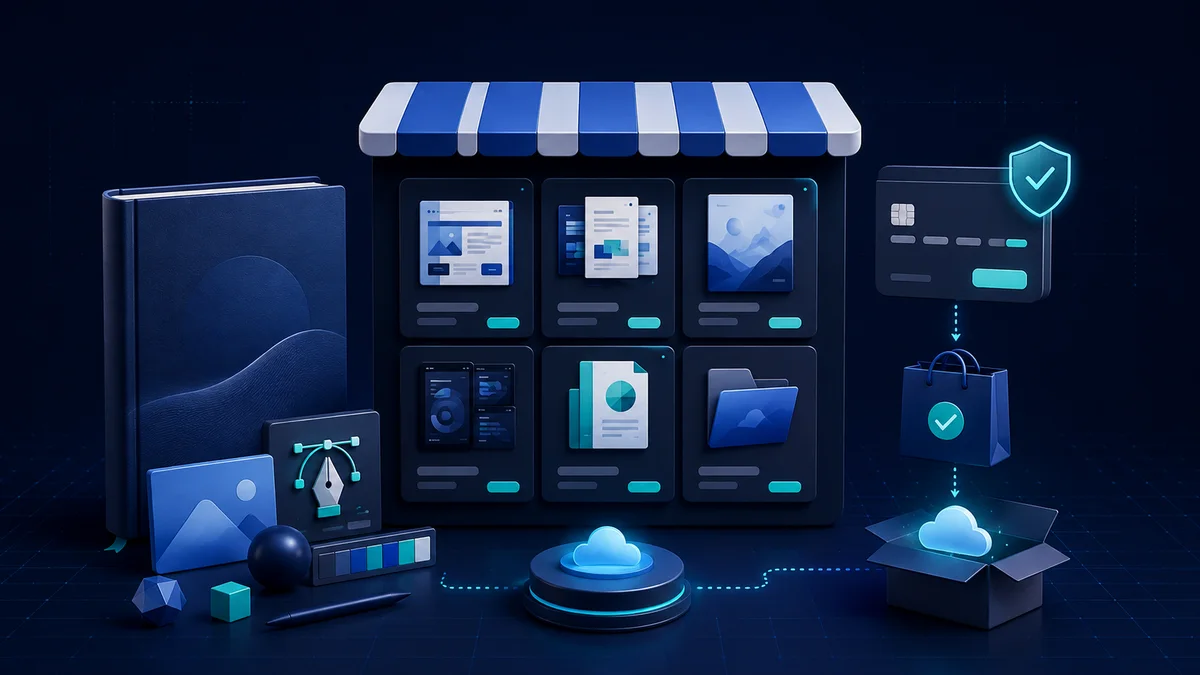
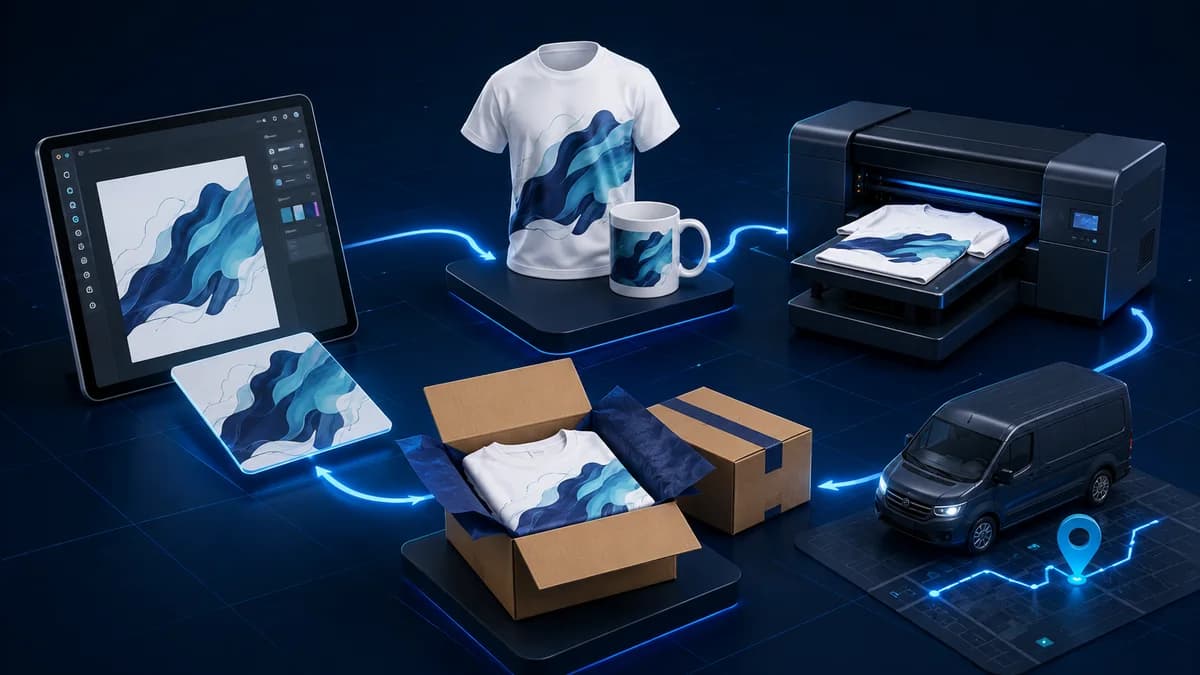
Print on demand, usually shortened to POD, is a model where the product is only printed after an order arrives. The seller focuses on design, the store and marketing; the production partner handles printing, packing and often ships directly.
Not holding stock is an advantage, but POD is not a risk-free model. Print quality, delivery time, design copyright and advertising costs can all eat the profit if they are not checked from the start.
This article explains the full order flow, how to choose a niche and a supplier, the profit formula, the sampling process, product page optimisation and a 30-day test plan. Beginners should treat POD as genuine retail, not as uploading a few designs and waiting for passive income.
How print on demand works
You create a design and list the product in your store. When a customer pays, the order details go to the POD partner, manually or automatically. The partner takes a blank product, prints the design, checks it, packs it and ships it to the customer. You remain responsible for the promise on the sales page, for support and for refunds, even though you never touch the parcel.
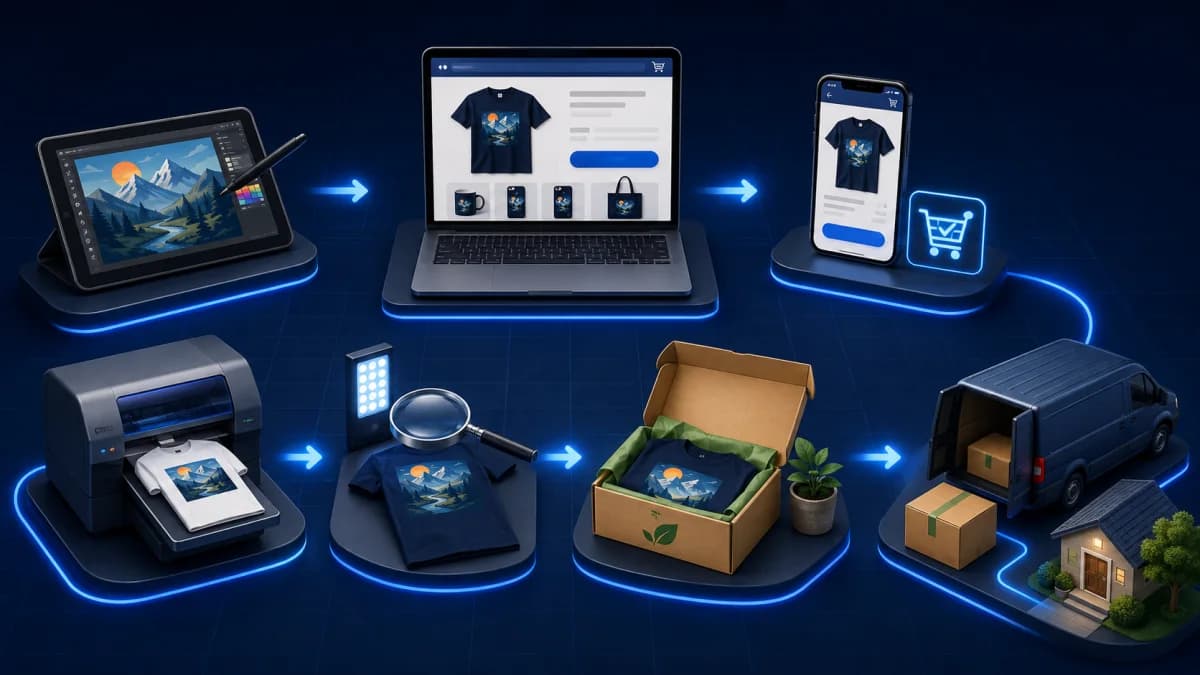
An order usually passes through seven steps: design, product creation, order intake, paying the production cost, printing, shipping and after-sales handling. One out-of-sync step — the wrong colour variant, an address that did not transfer correctly, or a tracking number updated late — is enough to damage the customer experience.
The advantages and limits beginners should know
POD reduces inventory risk because you do not order hundreds of units before knowing which design sells. It also lets you test several niches, sell in several markets and expand the catalogue without running a print shop.
In exchange, the cost per unit is usually higher than bulk production, and you have less control over quality, packaging and delivery time. Thin margins mean an advertising miscalculation or a handful of returns can wipe out a whole week's profit.
- Good for validating an idea before committing to stock.
- No need to buy a printer, rent a warehouse or pack orders in the early stage.
- Hard to control each parcel, since quality depends on the fulfilling partner.
- Base prices and shipping fees can change, which affects the margin.
- Processing time plus delivery time is usually longer than shipping from your own stock.
Choose a niche through interest and buying behaviour
A good niche is not just one with many interested people; that group must also have a reason to express identity or buy gifts through a physical product. Research what they call themselves, the stories they share, the buying occasions and the product types that fit their actual lives.
Read the reviews of products already selling to find the gaps: are customers complaining about the fabric, the size chart, designs that are too generic, or the delivery time? The goal is not to copy a bestseller but to understand the standards customers use to judge an item.
- A group with its own identity markers, symbols or vocabulary.
- Gifting occasions, events or milestones that repeat during the year.
- An interest with a community and many product use cases.
- A price range wide enough to cover production, shipping and marketing.
- A niche you understand well enough to avoid hollow, out-of-context or offensive designs.
Note: Avoid aiming too broadly, like "animal lovers". "Minimalist birthday gifts for owners of senior cats" gives you far more specific design, product and message contexts.
Choose the product and supplier before designing in bulk
T-shirts are popular but highly competitive and come with many size and colour variants. Posters, mugs, bags and accessories have different cost structures and shipping risks. Start with one or two product types that suit the niche, then find a partner with production facilities near your target market to cut delivery time and cost.
Do not choose on the lowest base price alone. Compare the material, the printing technique, the print area, the product colours, average processing time, facility locations, the misprint policy, support and inventory syncing. A slightly more expensive but stable partner can reduce refunds and bad reviews.
- Read the material specification, weight, fit and care instructions.
- Check the size chart against real measurements, not just S/M/L labels.
- Find out whether the partner has several facilities or switches facility when stock runs out.
- Compare shipping fees per region and the surcharge for extra items in the same order.
- Read the process for misprints, lost parcels, wrong deliveries and invalid addresses.
A design that looks good on screen may not print well
Every printing technique has limits on colour, gradients, fine detail and material type. Use the canvas size, resolution, colour mode and safe area specified by the supplier. Lines that are too thin, small text or semi-transparent areas can lose detail on fabric.
Create original designs and keep the source files with editable layers. Before exporting, check spelling, spacing, transparency and the proportions on each product size. A design needs adapting for a shirt, a mug and a poster rather than forcing one file onto every item.
- Work from a source file large enough and export in the format the printer requires.
- Keep important elements inside the safe area, away from seams and cut edges.
- Check the contrast between the design and each product colour.
- Use mockups for presentation but always compare them with a real printed sample.
- Save the final file that was sent to print so faults can be traced.
Ordering a sample is mandatory, not an optional cost
Order the product to an address in your main market so you measure both processing and delivery time. When it arrives, inspect the packaging, the smell, the softness, the print colour, position, size, seams and care instructions. Wash or use it a few times if it is meant to last.
Photograph the sample in natural light for the sales page. If the real colour differs from the screen, adjust the images and describe it honestly. Record the order date, the production facility and the batch code, because the same design can come out differently at different sites.
- Colour, sharpness, position and size of the printed area.
- Material, fit, size chart and how it feels after washing.
- Whether the packaging protects the product and matches the brand promise.
- Time from ordering to receiving a tracking number and to successful delivery.
- How responsive the supplier is when you send evidence of a fault.
Calculate the profit and working capital of a POD order correctly
The customer pays the store price. From that you subtract the production cost, the shipping you absorb, the platform fee, the payment fee, advertising, returns and the related tax. What remains is the contribution profit. Because partners usually charge production immediately while platforms pay out later, you still need working capital to fulfil orders on time.
For example, a shirt sells for 29 USD, production costs 12 USD, you absorb 5 USD shipping, platform and payment fees are 3 USD and allocated advertising is 6 USD — leaving 3 USD before tax, support and returns. A single misprint your partner does not reimburse can wipe out the profit from several good orders.
- Contribution profit = revenue received − all variable costs of the order.
- The advertising break-even is what remains before advertising; customer acquisition cost must not exceed it.
- The returns provision should be based on real data per product and per market.
- Minimum working capital must cover production during the platform's payout delay.
- Track profit per design and per variant, not just total store revenue.
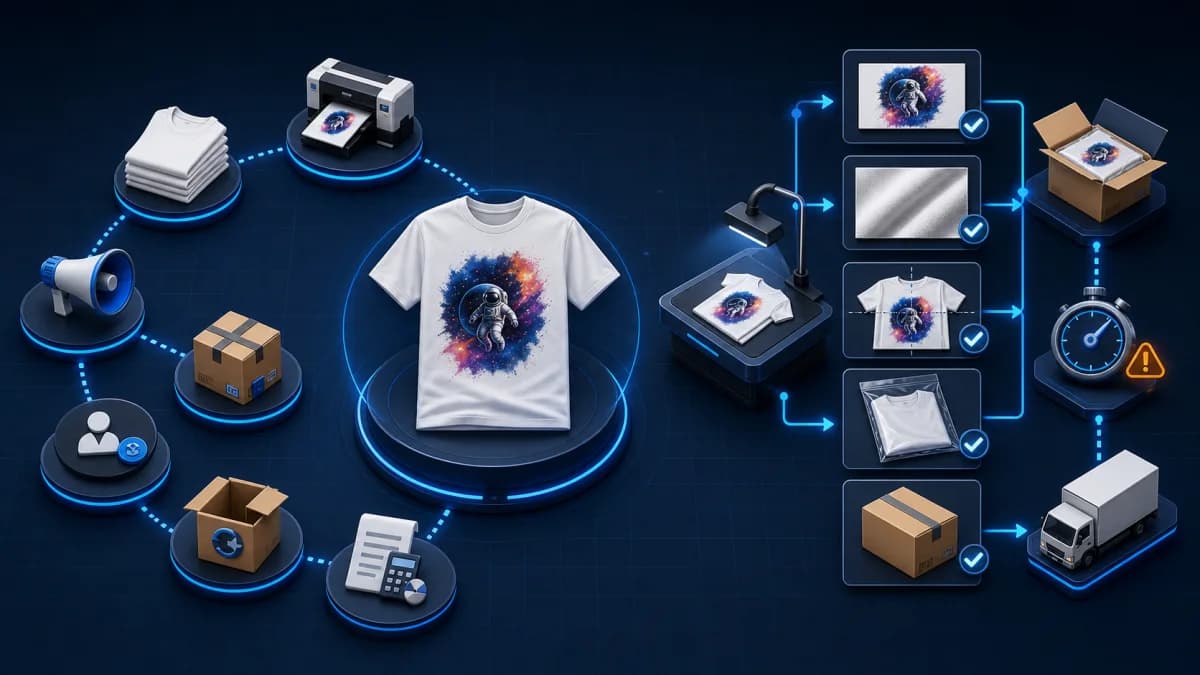
A 7-step process to start with POD
- 01
Research the niche
Find the customer group, buying occasions, product types, price levels and the complaints in existing reviews.
- 02
Choose one product
Compare material, size chart, base price, facilities, shipping fees and the fault-handling policy.
- 03
Create 3–5 original designs
Each design follows one specific angle, matches the print specification and has its rights verified.
- 04
Order samples
Check colour, material, size, packaging, a wash test and delivery time before selling.
- 05
Finish the store
Use real photos, a clear size chart, material description, processing time, returns policy and care instructions.
- 06
Run one test order yourself
Check variant syncing, payment, emails, addresses, tracking numbers and delivery notifications.
- 07
Sell within limits
Start with few designs, measure orders, profit and feedback before increasing the budget.
The product page must reduce uncertainty
Online buyers cannot touch the fabric or try a size, so the product page must replace that experience with clear information and images. The title should describe the theme and product type; the opening covers the benefit or the occasion; the rest presents material, fit, size chart, processing time and policies.
Use real sample photos of at least one main colour, a close-up of the material and an image showing the scale on a person. With mockups, do not stretch the design beyond the actual print area. If the colour can differ between screen and product, add a short note rather than waiting for complaints.
- A natural title containing the product type and main theme, without keyword stuffing.
- A clear first image; the following images show detail, size and context of use.
- A size chart with measurements, how to measure and whether the fit is slim or relaxed.
- A description that separates production time from expected shipping time.
- A returns policy covering misprints, the wrong size chosen by the customer, and lost parcels.
POD marketing: sell a story, not just a printed image
Effective content puts the product into the right moment: a birthday gift, a community event, a daily habit or the identity story of the customer group. Show the sketching process, why you chose a particular detail and real sample photos. That builds trust and stops the design being seen as a random image mash-up.
SEO suits existing demand, short-form content tests reactions quickly, email helps returning customers and advertising scales a design that has already proven itself. Beginners should not use advertising to rescue a product page that has no organic orders, poor photos or an incorrectly calculated margin.
- Start from one message and one customer group per design.
- Create behind-the-scenes content, sample photos, size guides and gift ideas.
- Collect emails with a sensible offer or on-topic content; never buy a list.
- Only advertise designs with early signals: saves, clicks, add-to-carts or orders.
- Stop a test at the loss threshold you set in advance; never raise the budget just because you already spent a lot.
Copyright is not a corner to cut
The fact that an image appears widely on the internet does not mean you may print and sell it. Sports team logos, characters, brand names, quotes, celebrity photos and even certain phrases can be protected. A platform can remove the product, suspend the account or withhold funds if it receives a complaint.
- Do not use logos, characters, quotes or famous imagery without a licence.
- Search the trademark register in your target market before making wording the centrepiece of a design.
- Keep source files, sketches and evidence of the creative process.
- Read the licence for fonts, images, brushes and design assets, especially the right to use them on resold merchandise.
- Do not copy a well-selling design and simply change the colour or a few details.
Note: If you are unsure about the rights, do not list it just because a competitor still sells it. Someone else not being caught yet does not create a legal right for your design.
Order operations and after-sales care
Every day you need to check pending orders, syncing errors, missing addresses, colours that ran out and orders without a tracking number. Automated emails tell customers their order is in production, but late or incorrect orders still need a person to act.
When a customer reports a fault, ask for a photo of the whole product, a close-up of the fault, the packaging and the shipping label if needed. Then compare it against the partner's policy and give a clear resolution: reprint, refund or replacement. Do not make the customer wait days for the supplier without any update.
- Use reply templates but personalise them to the order status and the real timeline.
- Track misprint, late delivery, lost parcel and return rates per facility.
- Update the product page when a size, colour or processing time changes.
- Keep a reserve fund for reprints and refunds during peak season.
- Reorder samples of bestsellers periodically to catch quality changes.
Metrics to review every week
Build a report broken down by design, product, colour, size, market and traffic source. A design with high revenue that mostly sells a size which gets returned, or that needs expensive advertising, can be worth less than a smaller but steady one with little support load.
- Contribution profit per product after advertising and expected returns.
- Page view, add-to-cart and conversion rate per design.
- Misprint, late delivery, lost parcel and return rates per facility.
- New customer acquisition cost and the payback period.
- Average order value, attach rate and returning customers.
- Days from order to production, to tracking number and to successful delivery.
A 30-day POD test plan for beginners
- 01
Week 1: pick the niche and run the numbers
Analyse customers, competitors and buying occasions; choose one product, two candidate suppliers and calculate the margin conservatively.
- 02
Week 2: create designs and order samples
Make 3–5 original designs, verify usage rights, order a sample of the best option and record the real timings.
- 03
Week 3: build the store
Photograph the sample, write the product page, size chart and policies; connect the supplier and run one order end to end.
- 04
Week 4: sell within limits
Publish content for the right group, list a few designs, cap the budget and record clicks, carts, orders, profit and feedback.
Mistakes that easily cost beginners money
- Listing dozens of generic designs before understanding one specific customer group.
- Choosing a supplier on price alone, without ever ordering a sample to the target market.
- Calculating profit while ignoring shipping, advertising, returns, tax and support time.
- Using mockups at the wrong scale, or hiding production time and the size chart.
- Advertising early for a product with no signals, and without a stop-loss threshold.
- Using copyrighted or trademarked assets just because many other stores do.
- Depending on one supplier without monitoring quality or having an alternative.
Note: The goal of the first 30 days is not a huge store. It is to prove that a customer group will buy one design at a positive margin, with a delivery experience you can repeat.